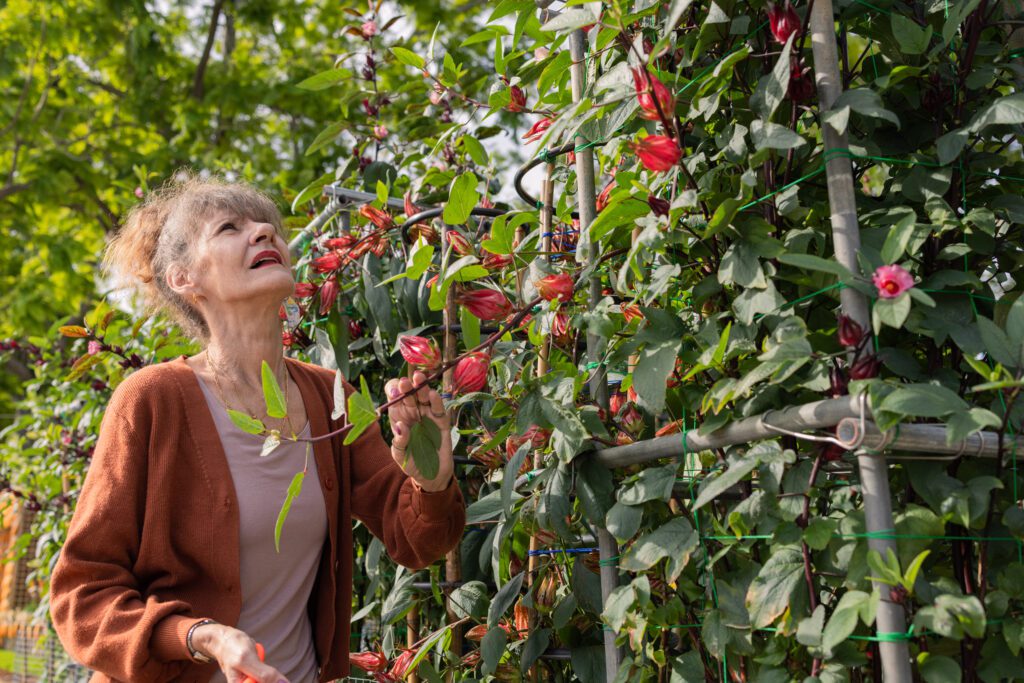
Creating your own trellis or arbor can be a rewarding DIY project that adds beauty and functionality to your garden. Here’s a step-by-step guide to help you build either a trellis or an arbor:
1. Building a Trellis
Materials Needed:
- Wooden boards or metal rods
- Saw (if cutting wood)
- Drill and screws (for wooden trellis)
- Metal connectors (for metal trellis)
- Measuring tape
- Level
- Sandpaper (for smoothing wood)
- Paint or wood stain (optional)
- Garden twine or wire (optional, for climbing plants)
Step-by-Step Instructions:
- Plan Your Design:
- Decide the size and shape of your trellis. Common shapes include rectangular, square, or fan-shaped.
- Consider the plants you’ll grow and ensure the trellis is sturdy enough to support their weight.
- Choose Your Materials:
- Wood is a popular choice for a traditional look. Cedar or pressure-treated wood is durable and weather-resistant.
- Metal (like steel or aluminum) is more modern and durable but may require connectors for assembly.
- Cut the Wood or Metal:
- For a wooden trellis, cut the vertical and horizontal pieces to the desired length.
- For a metal trellis, you may need to purchase pre-cut rods or use a hacksaw to cut them to size.
- Assemble the Frame:
- Lay out the vertical and horizontal pieces on the ground to form the basic grid pattern.
- For a wooden trellis, use a drill and screws to attach the horizontal pieces to the vertical ones.
- For a metal trellis, use metal connectors or weld the rods together if you have the tools.
- Secure the Trellis:
- Attach the trellis to a wall, fence, or stakes driven into the ground for support. Use brackets or screws for a wooden trellis, or secure metal trellises with garden stakes or posts.
- Finishing Touches:
- Sand any rough edges of the wood and apply paint or stain if desired to protect the wood from the elements.
- Consider adding garden twine or wire across the trellis to provide extra support for climbing plants.
2. Building an Arbor
Materials Needed:
- Four wooden posts (4×4 inches, for stability)
- Wooden beams for the top (2×6 or 2×4 inches)
- Lattice panels (optional, for sides)
- Concrete mix (to secure posts)
- Screws or nails
- Drill
- Saw
- Measuring tape
- Level
- Paint or wood stain (optional)
Step-by-Step Instructions:
- Plan Your Design:
- Decide on the height and width of your arbor. A common size is about 7 feet tall and 6 feet wide.
- Sketch your design, including any lattice panels or decorative elements you want to add.
- Choose Your Materials:
- Pressure-treated wood is ideal for outdoor structures as it’s resistant to rot and insects.
- Consider using decorative post caps for a more finished look.
- Prepare the Posts:
- Measure and mark where your posts will go. Dig holes at least 2 feet deep for the posts.
- Place the posts in the holes and fill them with concrete, making sure the posts are level. Allow the concrete to set for 24 hours.
- Attach the Top Beams:
- Cut the top beams to size. You’ll need two beams for each side of the arbor.
- Place the beams on top of the posts, one on each side, and secure them with screws or nails. Make sure they are level.
- Add Crossbeams:
- Cut and attach crossbeams across the top of the arbor, perpendicular to the main beams. Space them evenly for a balanced look.
- Secure the crossbeams with screws or nails.
- Optional: Add Lattice or Decorative Elements:
- If you want to add lattice panels to the sides of your arbor, cut the panels to size and attach them to the posts with screws.
- You can also add decorative trim or post caps for a more polished appearance.
- Finishing Touches:
- Sand any rough edges and apply paint or wood stain to protect the wood from weathering.
- Consider planting climbing vines at the base of the posts to grow over the arbor.
Tips:
- Always use treated lumber or seal untreated wood to prevent rot and insect damage.
- For a more rustic look, use natural branches or reclaimed wood.
- Ensure your structure is sturdy, especially if it will support heavy vines or plants.
With these steps, you can create a beautiful trellis or arbor that complements your garden and provides support for your climbing plants from Kiefer Landscaping!
