Spring seeding is often seen as a cure for brown, dead grass and truthfully, it can be. Although the best and easiest time to seed a lawn is in the fall, there can still be some great benefits if it is done in the spring. Spring seeding has more limitations and requires more maintenance than fall seeding. You must ensure there is good seed-soil contact through soil preparation. It is also important to control weeds in the lawn because spring germinating weeds will outcompete the desirable turf grass. The downside to spring seeding is that you can’t put down a pre-emergent to hold back crabgrass. Below explains how to properly seed an existing lawn and how to seed a new lawn.
Seeding An Existing Lawn
- Mow the area to 1″ high. This will reduce competition from established grass.
- Apply a starter fertilizer over the entire lawn.
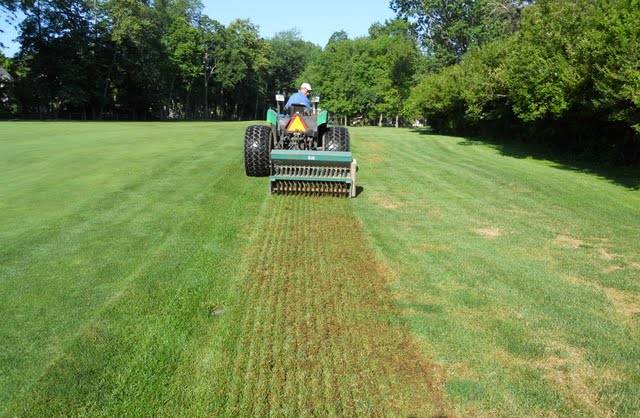
- Core aerate the area where seeding will be done. This will help improve the germination rate and also increase the seed to soil contact. Remember there is no such thing as over-aerating a lawn before seeding.
- Apply the seed to the lawn. If the area that is being seeded is large it may be best to use a mechanical spreader. If the area is small, the seed may be applied by hand. Be sure to make 2-4 passes over the lawn in different directions for an even spread. If you aerate before seeding the seed will fall right into the grooves and ensure great seed to soil contact.
- Water the newly seeded area. It is important to keep the seed moist, not soggy, until all seeds have germinated. If the seed/sprout dries out there is a chance it will die out. Normally watering twice a day is enough for new seed to stay moist. Remember established lawns do not require as much as newly seeded lawns.
- Six to eight weeks after germination apply a fertilizer that contains nitrogen, phosphorus, and potassium.
Seeding A New Lawn
- On un-compacted soils, you can core aerate your lawn to ensure seed to soil contact.
- On compacted soils, you will want to till the soil 4-6 inches, rake smooth, allow it to settle for a week or so, rake it one more time, and then apply seed.
- Lawns with an excessive amount of thatch will require you to loosen and remove as much thatch as possible. If the thatch is over 1 inch thick, either use a sod cutter or till the soil to turn the thatch under.
- Before you apply the seed, use a starter fertilizer over the entire lawn.
- After seeding, make sure there is a good seed to soil contact. A light roller may be used to ensure seed to soil contact. Or if you used a rake, make sure the grooves are big enough to trap the seed.
- Then water the newly seeded area to encourage germination. Keep the seed moist, not soggy at all times.
- When the grass reaches 4-5 inches you are able to mow.
- Six to eight weeks after germination, apply a fertilizer containing nitrogen, phosphorus, and potassium.
Problems to Avoid When Watering New Seed
- Overwatering which results in puddles. This can cause the seed to float around or move and then the grass is not evenly distributed.
- Runoff on sloping ground. If the area that was seeded is on a slope it may be necessary to reduce the amount of water each time. However, you may need to water more frequently.
- Overwatering that allows the soil to get soggy. It takes some soils a long time to dry out. Clay soil is often the worst. Be sure to stay off the area if this happens.
- Pay attention to more shaded areas. These areas need less water, while sunny areas need more.
- Be careful not to underwater new grass seed. One mistake could mean starting all over.
- If you see moss or algae growths showing up, especially in shaded areas, there is too much moisture present.